You want to learn piano. Maybe you’ve wanted to for years. Maybe decades. Maybe you just walked past a keyboard in a store and thought, I wonder if I could actually do that.
The answer is yes. And it’s simpler to get started than most people think.
This guide walks you through everything you need to go from complete beginner to playing your first songs. No prior experience needed. No music theory prerequisites. Just you, a keyboard, and about 10 minutes a day.
We’ll cover how to choose a keyboard, where to put your hands, how to find every note, how to read basic music, and how to play your first chord progression — the same progression behind hundreds of popular songs. By the end, you’ll have a clear roadmap for your first weeks and months at the piano.
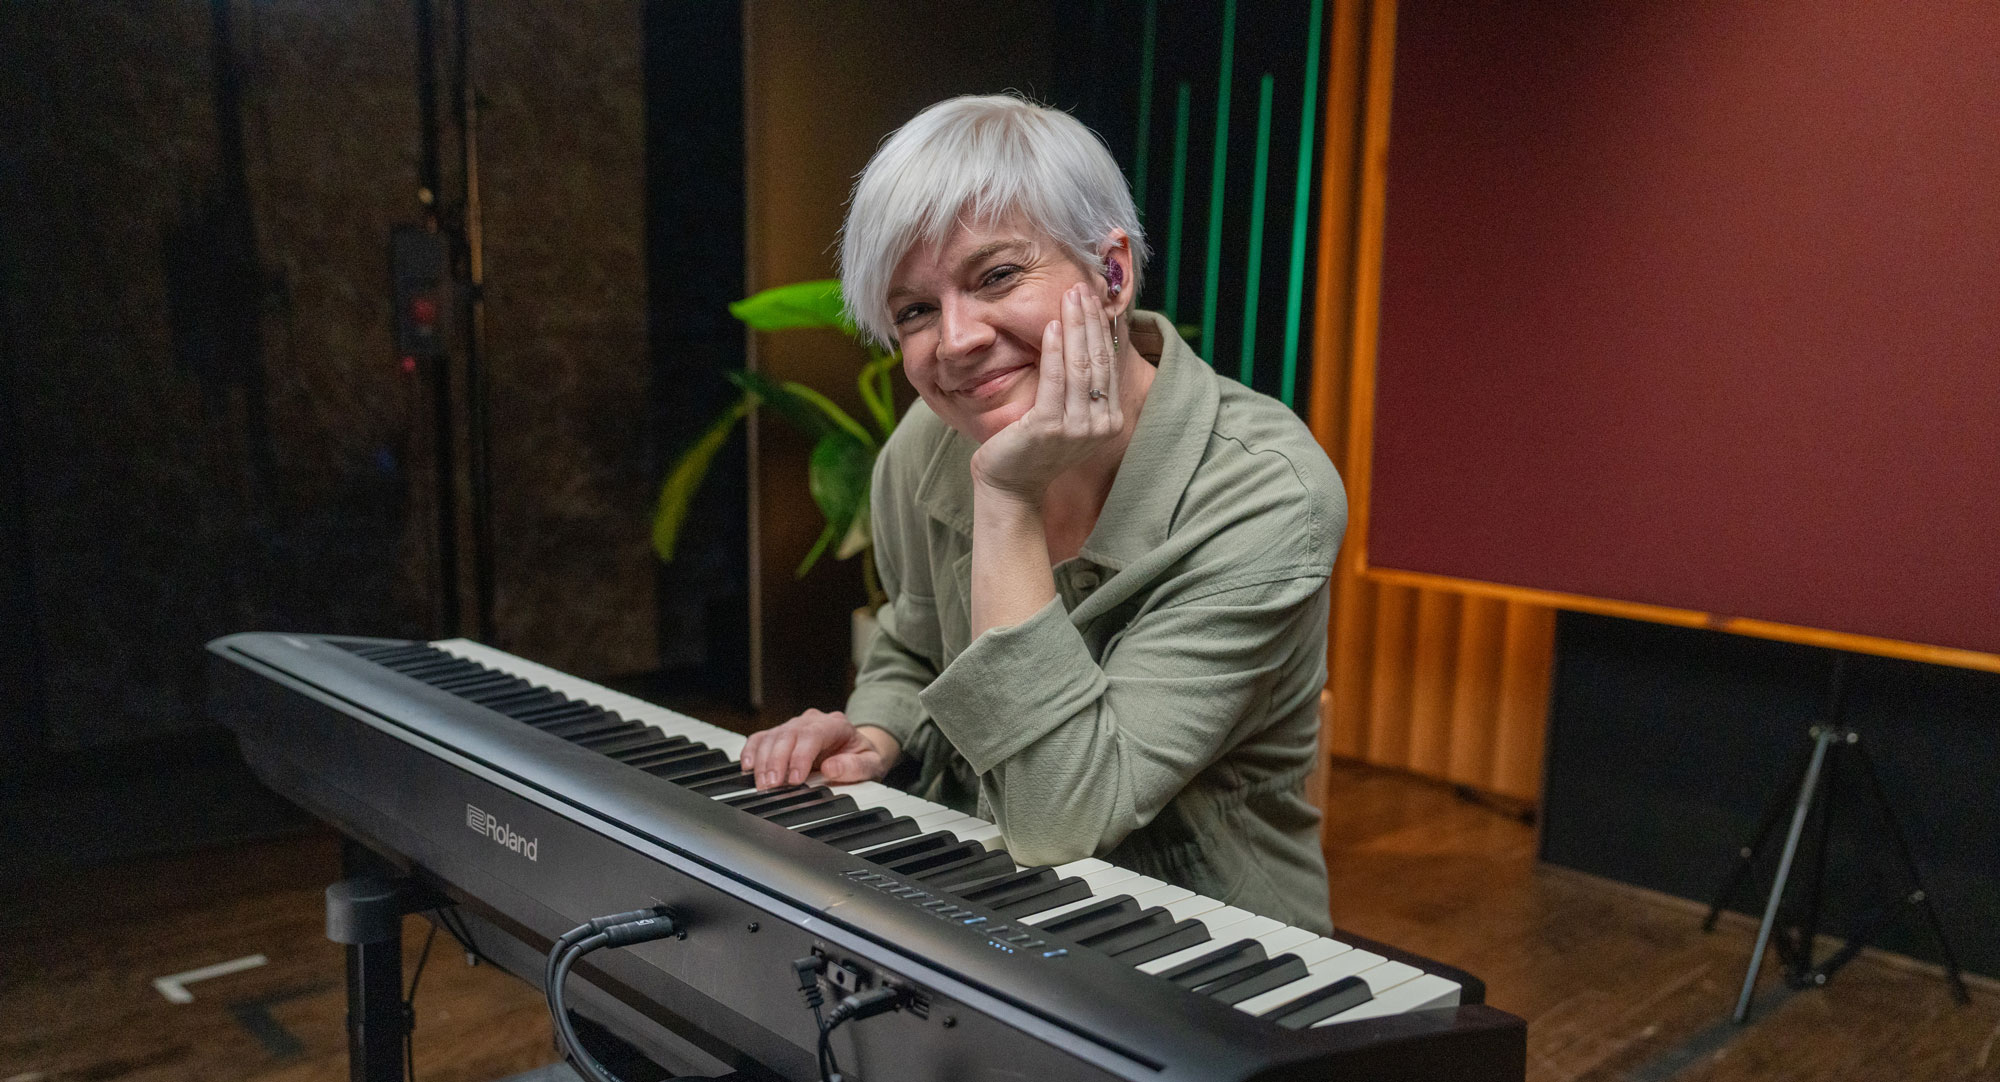
This guide is based on how we teach over 100,000 students at Musora, including our Getting Started On The Piano course with Lisa Witt — a Royal Conservatory-trained pianist who’s helped millions of beginners play their first notes through Pianote on Musora.
Choose the Right Keyboard
The first question every beginner asks: what piano should I buy? The good news is you don’t need anything expensive to start. Here’s what actually matters.
What to Look For
- 88 weighted keys. Weighted keys feel like a real piano and build proper finger strength from day one. If budget is tight, 61 semi-weighted keys will work for the first few months, but you’ll outgrow them.
- A sustain pedal input. You’ll need this once you start playing songs. Most digital pianos include one.
- Headphone jack. Practice at midnight without waking anyone up.
What You Don’t Need (Yet)
- Hundreds of built-in sounds and rhythms
- A recording interface
- Bluetooth connectivity
- An acoustic piano (digital is actually better for beginners — headphone jack and consistent tuning)
A solid digital piano in the $300–$700 range will serve you well for years. Brands like Yamaha, Roland, Casio, and Korg all make excellent beginner instruments. If you’re on a tighter budget, even a basic 61-key keyboard will get you through the first few months — just plan to upgrade once you’re committed.
Get Comfortable at the Keyboard
Before you play a single note, let’s talk about how to sit. This sounds basic, but bad posture habits formed in the first week can slow you down for months.
Posture Basics
- Sit at the center of the keyboard. Find the brand name or logo — that’s roughly the middle. Your belly button should align with Middle C (we’ll find that in a moment).
- Sit at the edge of your bench. Not the back. Your feet should be flat on the floor, and you should feel stable but not stiff.
- Keep your wrists up. Your wrists should float above the keys, roughly level with your forearms. Don’t let them drop below the keyboard — that’s the fastest path to tension and fatigue.
- Curve your fingers gently. Imagine holding a tennis ball. That’s roughly the shape your hand should make. Play with your fingertips, not flat fingers.
Spend a few minutes just resting your hands on the keys. Press a few notes. Notice how different fingers feel — your thumb is strong, your pinky is weaker. That’s normal. Everything gets stronger with practice.
Learn the Keyboard Layout
A full piano has 88 keys. That looks overwhelming. But here’s the secret: there are only 12 unique notes, and they repeat over and over from left to right. Once you learn the pattern once, you know the entire keyboard.
The Black and White Key Pattern
Look at the black keys. Notice they come in alternating groups of two and three. This pattern repeats across the entire keyboard, and it’s your map to finding every note.
The musical alphabet uses just seven letters: A, B, C, D, E, F, G. Then it starts over. That’s it — seven white keys, five black keys, twelve notes total per group (called an octave).
Finding the Most Important Notes
- Middle C: Find a group of two black keys near the center of your keyboard. The white key immediately to the left of those two black keys is C. The C closest to the middle of the keyboard is Middle C. This is your home base.
- D: The white key between the two black keys.
- E: The white key to the right of the two black keys.
- F, G, A, B: Continue up the white keys. F is the white key to the left of the group of three black keys. Keep going — G, A, B — and then you’re back to C again.
Practice this: starting at Middle C, say each note name out loud as you play up the white keys. C, D, E, F, G, A, B, C. Then come back down. Do this a few times until you can find any note quickly using the black key groups as landmarks.
Play Your First Scale
A scale is just a sequence of notes played in order. It’s the foundation for melodies, chords, and songs — and it’s also the best way to start building finger coordination.
The C Major Scale (Your First Scale)
Start on Middle C with your right hand thumb (finger 1). Play each white key in order: C, D, E, F, G, A, B, C. Each finger gets its own key:
- Thumb (1) → C
- Index finger (2) → D
- Middle finger (3) → E
- Then tuck your thumb under to reach F (this is the tricky part)
- Continue: thumb (1) → F, index (2) → G, middle (3) → A, ring (4) → B, pinky (5) → C
The thumb-under technique feels awkward at first. That’s completely normal. Start slowly — really slowly — and focus on keeping each note even. Speed comes later. Smoothness comes first.
Start with Five Notes
If the full eight-note scale feels like too much, start with just five notes: C, D, E, F, G. Play them up and back down. This is called a five-finger pattern, and it’s how Pianote’s beginner curriculum introduces your very first exercises. It builds the muscle memory without the complexity of the thumb-under movement.
Practice your scale for 2–3 minutes at the start of each session. It doubles as a warm-up and a skill builder.
Understand How to Read Basic Music
You don’t need to become a sight-reading expert to play piano. But understanding the basics of music notation opens up a world of songs and resources. Here’s what to learn first.
The Treble Clef and Staff
Music is written on a staff — five horizontal lines. The right hand typically reads the treble clef (the fancy swirly symbol at the beginning of the staff). Each line and space represents a different note.
The lines from bottom to top are: E, G, B, D, F (remember: Every Good Boy Does Fine). The spaces from bottom to top spell F, A, C, E (that one’s easy — it spells FACE).
Time and Rhythm Basics
Music is organized into measures (also called bars) — small sections separated by vertical lines on the staff. Most beginner songs use 4/4 time, which means four beats per measure. Think of it as counting: 1, 2, 3, 4, 1, 2, 3, 4.
- Whole note: held for 4 beats (the full measure)
- Half note: held for 2 beats
- Quarter note: held for 1 beat
Don’t try to memorize everything at once. The goal at this stage is to recognize that music notation is a system — and that you can learn to read it gradually as you need it. For a deeper dive, check out our full guide: How To Read Sheet Music: A Simple Guide for Any Instrument.
Play Your First Chords
Chords are what make piano sound full and musical. A chord is simply three or more notes played at the same time. And here’s the exciting part: with just four chords, you can play hundreds of popular songs.
The I–V–vi–IV Progression
This chord progression shows up everywhere — pop, rock, country, film scores, you name it. In the key of C, it’s:
- C Major: C, E, G (play these three notes together)
- G Major: G, B, D
- A Minor: A, C, E
- F Major: F, A, C
Play them in order: C → G → Am → F. Repeat. That’s it. You’re playing one of the most common chord progressions in music. This is exactly what Lisa Witt teaches in Lesson 3 of the Getting Started course — and by Lesson 4, you’re putting it all together into a complete performance.
Adding Your Left Hand
Start by playing just the root note (the note the chord is named after) with your left hand while your right hand plays the full chord. So for C Major, your left hand plays a low C while your right hand plays C-E-G. This is called a power chord in Pianote’s curriculum, and it’s your first step toward playing with both hands.
For a complete breakdown of beginner chords with visual diagrams, see our guide: Essential Piano Chords For Beginners: The Only Guide You’ll Need.
Put It All Together: Your First Song
Here’s where everything clicks. You know the keyboard. You can find notes. You can play a chord progression. Now let’s make music.
Take your C-G-Am-F chord progression and try this:
- Left hand: Play the root note of each chord (C, G, A, F) one at a time, holding each for four beats.
- Right hand: Play the chord (three notes together) on beat 1 of each measure.
- Count out loud: 1-2-3-4 for each chord. This keeps your rhythm steady.
Once that feels comfortable, try breaking up the right-hand chords — instead of playing all three notes at once, play them one at a time (this is called an arpeggio). It sounds more musical and gives you something to practice.
Congratulations — you’re playing piano. It might be simple. It might be slow. But it’s real music, and it’s the exact same foundation that every pianist builds on.
For more songs at this level, check out: 5 Easy Piano Songs For Beginners.
What to Practice (And How Often)
Consistency beats intensity. Ten minutes a day, five days a week will get you further than a two-hour marathon on the weekend. Your brain and muscles need regular repetition to build the connections that make playing feel natural.
A Simple Daily Practice Routine for Beginners
- Minutes 1–3: Warm up with the C Major scale (up and back down, both hands separately)
- Minutes 4–7: Practice your chord progression (C-G-Am-F) with both hands
- Minutes 8–10: Work on a song or exercise from your current lesson
That’s it. Ten minutes. The key is doing it every day — not doing more.
As you get more comfortable, extend your sessions to 15 or 20 minutes. But never sacrifice consistency for length. A habit that sticks at 10 minutes is worth more than a plan that calls for an hour and lasts three days.
For more on building a lasting routine, read: How To Build A Practice Habit That Sticks (For Musicians).
Your Month-by-Month Roadmap
This timeline assumes about 10–15 minutes of daily practice with a structured curriculum. Results vary, but the single biggest factor is consistency — not talent, not age, not the keyboard you own.
For a detailed breakdown, see: How Long Does It Take To Learn Piano? (Month-By-Month Timeline).
Common Beginner Mistakes to Avoid
After teaching over 100,000 students, we’ve seen the same mistakes come up again and again. Avoid these and you’ll progress faster than most:
-
Skipping the fundamentals.
It’s tempting to jump straight to your favorite song. But building basic technique first (posture, finger position, scales) makes everything easier later.
-
Practicing only what you're good at.
That chord progression that sounds great? You don’t need to practice that one anymore. Spend your time on what’s hard.
-
Going too fast.
Speed is a byproduct of accuracy. Play everything slowly enough that you can do it correctly, then gradually increase tempo.
-
Ignoring the left hand.
Most beginners focus on the right hand because it plays the melody. But your left hand provides the foundation. Give it equal time.
-
Learning without structure.
Watching random YouTube tutorials is fun, but without a clear progression path, you end up with gaps in your skills. A structured method — like Musora’s Pianote Method — ensures you build each skill in the right order.
For the full list, read: The 10 Most Common Mistakes Beginner Pianists Make.
Where to Go From Here
You’ve got the foundation. You know the keyboard, you can read basic music, you can play chords and a simple song. Now the question is: what’s the best way to keep going?
The biggest accelerator for beginner pianists is a structured curriculum taught by real teachers. That’s exactly what Musora’s Pianote Method is built for — a 10-level progression that takes you from your first day at the keyboard through reading music, playing in multiple keys, exploring styles like blues and jazz, and eventually composing your own music.
Here’s How to Take the Next Step
- Start free: Musora’s Getting Started On The Piano course is free — 4 lessons with Lisa Witt that take you from your first note to playing a full chord progression.
- Go deeper: The Pianote Method on Musora gives you a structured, level-by-level path with video lessons, play-alongs, theory, and ear training. It’s how 100,000+ students learn.
- Keep learning here: This guide is part of a series. Explore our guides on piano chords, music theory for beginners, reading sheet music, and easy songs to build your skills.
Learning piano is one of the most rewarding things you can do. It doesn’t require natural talent. It doesn’t require starting young. It requires 10 minutes a day, a willingness to sound bad for a little while, and a clear path forward.
You have the path. Now go play.